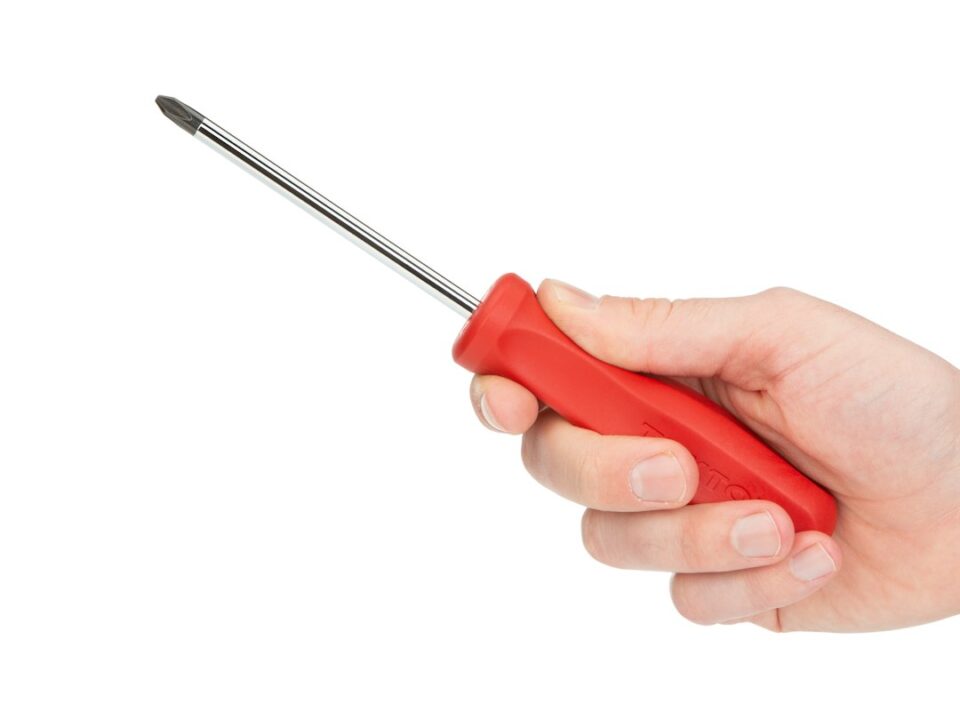
To learn how to attach bindings to a snowboard quickly and correctly, set your stance (regular or goofy), choose a starting width and angles (a common all‑mountain preset is +15° front and −6° to −9° back), then mount to the board’s insert pattern (4×4/2×4 or Burton Channel) using a #3 Phillips screwdriver. Center your boots so toe and heel overhang are equal, point buckles outward, and tighten the screws in a crisscross pattern until snug; if you have a torque driver, 5–7 N·m with a small dab of medium‑strength blue threadlocker is a good guideline—check your brand’s manual.
Plan about 10–15 minutes. Lay out a #3 Phillips screwdriver, the correct M6 screws and washers (most setups use 14–16 mm length, supplied with the bindings), the right discs for your board pattern, and optionally a torque driver and threadlocker. Don’t mix hardware from different brands, don’t overtighten, and recheck screw tightness after your first run or two because new hardware can settle as you ride.
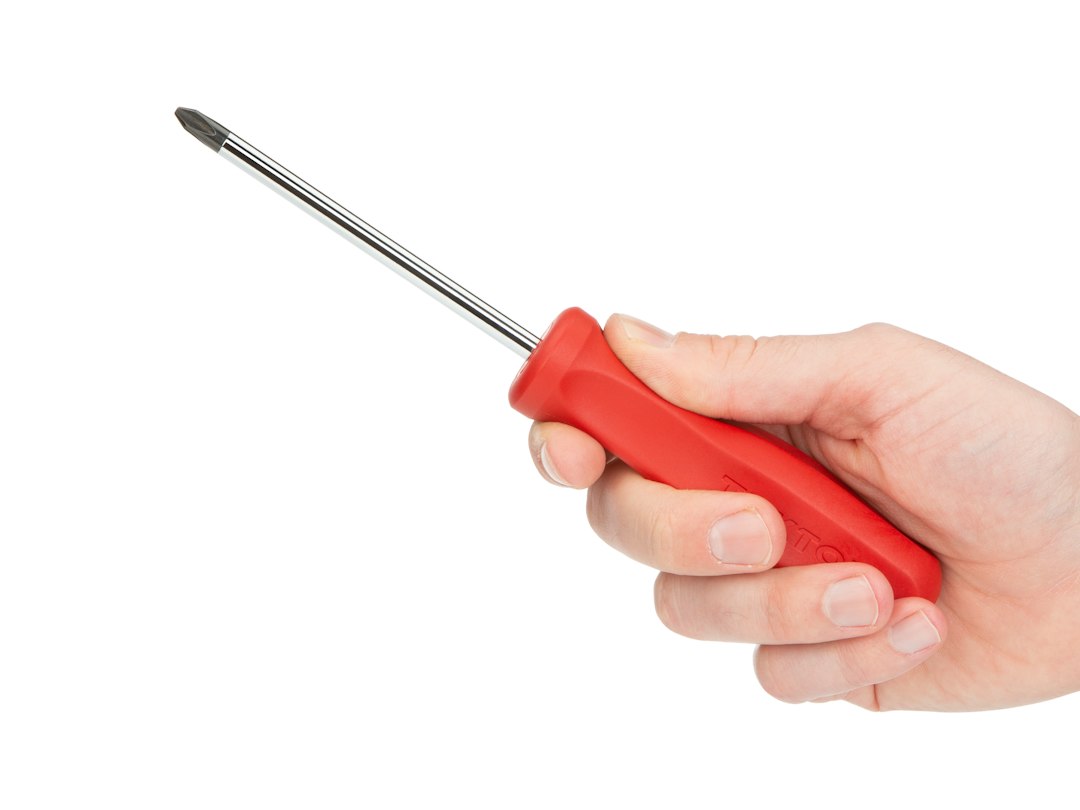
How to attach bindings to a snowboard (10‑minute setup)
Here’s a fast, reliable sequence you can follow at home or in the parking lot. Keep your board on a soft mat or carpet to protect the base.
- Confirm your stance direction. Regular means left foot forward; goofy means right foot forward. If you’re unsure, imagine sliding on ice or kick a ball—the foot that leads or kicks is a clue. Your front binding goes at the nose end.
- Pre‑set your stance angles. For most beginners and all‑mountain riders, start at +15° on the front and −6° to −9° on the back. Freestyle riders often prefer symmetrical duck like +12°/−12°, while directional carvers may go more positive on the rear, such as +21°/0° or +24°/+6°. You’ll fine‑tune later.
- Choose an initial stance width. Use the board’s reference stance marks (often printed near the inserts). As a quick guide, shoulder‑width is a solid start. If you have height‑based marks in centimeters, align the discs to the reference hole pair first.
- Identify the insert pattern and correct disc. Most boards use 2×4 or 4×4 inserts (standard hole grids). Burton Channel boards use a single slot down the center that requires channel‑compatible discs and sliding t‑nuts. Make sure your binding kit includes the right disc and screws. EST bindings mount only to the Channel and do not use standard discs; Step On bindings require matching Step On boots and the correct hardware.
- Place the bindings on the board with buckles out. Buckles should face away from the centerline so they’re clear of each other when ratcheting. Check that you’ve got the correct binding at the correct end (R/L are usually marked). Set the angle on the disc to your chosen degrees.
- Center the boots. Put your boot in the binding and eyeball toe/heel overhang. You want roughly equal, modest overhang on both sides. A useful target is ≤10–15 mm on each edge. Slide the disc in its slots to shift the binding slightly toward toe or heel, or adjust the baseplate’s toe ramp (if available) to even things out. Riders with wide boots may need to go slightly more heel‑biased to reduce toe drag.
- Insert screws with washers and snug in a cross pattern. Lightly start all screws so the disc can still move, then tighten in an X pattern (top‑left, bottom‑right, top‑right, bottom‑left). Snug is the goal—if you’ve got a torque driver, 5–7 N·m is common for M6 binding hardware. A pea‑sized dab of medium‑strength blue threadlocker on clean, dry screws can help reduce loosening; avoid red/high‑strength products.
- Repeat for the other binding and recheck centering. Put each boot in the mounted bindings and confirm equal overhang and buckle clearance. Make any small disc or strap adjustments now.
- Final checks. Rotate highbacks toward the heel edge if your bindings allow it, set a light forward lean if desired (more on that below), and confirm strap ladders engage properly without bottoming out. Wipe away excess threadlocker and note your angles and stance width for future reference.
Quick‑start setup checklist
- Tools: #3 Phillips, M6 screws and washers, correct discs; optional torque driver (5–7 N·m) and blue threadlocker
- Time: 10–15 minutes on a clear work surface
- Pattern identification: 2×4/4×4 vs. Burton Channel; pick matching discs/t‑nuts
- Angles preset: start at +15° front, −6° to −9° back (adjust after riding)
- Stance width: use board’s reference marks; begin near shoulder‑width
- Boot centering: equal toe/heel overhang, target ≤10–15 mm each side
- Tightening order: start all screws, then crisscross to snug; avoid overtightening
- Recheck reminder: verify screw tightness after your first runs
Dial in stance width and angles for your style
Angles and width shape how your board feels underfoot. Start with proven presets, then make small changes and ride to feel the difference. Adjust in 3° steps at most and 0.5 in (about 1.3 cm) for width.
| Riding style | Front angle (°) | Back angle (°) | Stance width guidance | Setback note |
|---|---|---|---|---|
| Beginner / all‑mountain | +15 | −6 to −9 | Near shoulder‑width or board’s reference | Centered or small setback if board suggests |
| Freestyle / park (duck) | +12 | −12 | Slightly wider than shoulders for stability | Centered for switch balance |
| Carving / directional | +21 to +24 | 0 to +6 | Shoulder‑width or a touch narrower for edge transitions | Small setback to bias the tail |
| Powder / freeride | +15 to +21 | 0 to −6 | Reference or slightly wider for float and control | Setback 10–20 mm if the board allows |
For width by height, many riders around 5′6″–5′9″ (168–175 cm) like roughly 20–22 in (51–56 cm). From 5′10″–6′1″ (178–185 cm), 21–23 in (53–58 cm) is common. If your knees feel cramped, widen slightly; if your hips feel strained, narrow slightly. Centered is common for park and switch riding; freeride boards often run a small setback for better float and stability.
If you’re new to stance setup, pairing this guide with a solid boot fit improves everything you feel on snow. See our boot fit resource for detailed sizing and lacing strategies: The Complete Guide to snowboard boot fitting.
Board–binding compatibility made simple
Before turning a screwdriver, make sure bindings, discs, and screws match your board’s insert system. Using the wrong disc or screw length can strip threads or bottom out against the base.
| Board insert type | Compatible discs/bindings | Screw type/length (typical) | Notes / exceptions |
|---|---|---|---|
| 2×4 inserts | Most modern bindings with universal discs | M6 x 14–16 mm with washers | Closer hole spacing for finer stance width adjustment |
| 4×4 inserts | Most modern bindings with universal discs | M6 x 14–16 mm with washers | Older pattern; fewer width increments than 2×4 |
| Burton Channel | Channel‑compatible discs + sliding t‑nuts | M6 screws matched to t‑nuts (often provided) | Slide t‑nuts in the slot to set width and angles; tighten to spec |
| Burton EST | EST bindings only (Channel boards) | N/A for standard discs | EST does not use traditional baseplate discs; not for 2×4/4×4 |
| Step On | Step On binding + Step On boots | M6 screws supplied with the bindings | Follow brand instructions; do not mix with non‑Step On boots |
Always use the hardware supplied with your bindings, including cup washers under screw heads to spread load and protect the disc. If screws feel too long (bottoming out before the binding is tight), stop and swap to a shorter length or add a washer. If you ride a Burton Channel board, position and lightly tension both screws, align angles and width, then tighten each side in small increments to keep the disc flat and the t‑nuts aligned.
New to riding altogether? Our season‑starter advice pairs well with this setup guide: 27 beginner snowboarding tips for your first season and our First‑Day Guide cover the rest of your checklist.
Fine‑tune fit: centering, highbacks, and straps
Center the boot over the board. Aim for equal toe and heel overhang, ideally in the 10–15 mm range per side. If your toes stick out more, slide the binding a notch toward the heel by using the disc’s lateral slots. If your heels hang way out, shift toward the toe. On bindings with adjustable toe ramps or heel cups, micro‑adjust to even the stance. For riders with big boots on narrower boards, consider reducing angles slightly or choosing a board with a wider waist to cut down toe drag.
Highback rotation and forward lean. Rotate each highback so it lines up with your heel edge; this transmits heelside energy straight into the edge. Set forward lean lightly for beginners—many ride neutral or one click forward—then experiment with more lean if you want snappier heelside response for carving.
Strap fit. The toe strap should sit like a cap over the boot toe, not on top of the boot. The ankle strap should sit centered across the boot tongue without pinching. Adjust strap ladders so ratchets bite by the second or third click and don’t max out under load. If your boots are new, recheck strap length mid‑day as the liners pack in.
Common mistakes to avoid
- Buckles facing inward. This causes buckles to hit each other and makes strapping in awkward. Always face buckles away from the centerline.
- Swapped front/back or wrong binding on the wrong foot. Check R/L labels and ensure the front binding is at the nose end.
- Overtightening or using power drivers. Too much force can dimple the topsheet or strip inserts. Hand‑tighten with a #3 Phillips, and use torque guidance if you have it.
- Wrong screw length. Screws that are too long bottom out and won’t hold. Too short may not fully engage threads. Most setups use M6 x 14–16 mm—verify in your manual.
- Ignoring reference stance and centering. Off‑center boots lead to toe/heel drag and unpredictable edge hold. Take a minute to center properly.
- Mixing incompatible systems. Don’t mount EST on 4×4 inserts or use non‑channel discs on a Channel board. Don’t mix Step On with non‑Step On boots.
- Skipping washers or threadlocker on well‑used boards. Washers protect discs; a small dab of medium blue threadlocker can reduce loosening on older setups.
Troubleshooting and on‑snow check
If an insert spins or strips: Stop immediately. Do not force the screw. Try another insert in the same row or shift the stance by one hole pattern. If a threaded insert spins in the board, take it to a shop for assessment; continuing to crank can damage the board’s core.
If screws are too long or too short: If a screw bottoms out before the binding is snug, use a shorter M6 length or add a washer/spacer. If only the screw tip is visible in the insert and the binding still moves, step up to a slightly longer M6. Always thread by hand first to feel for proper engagement.
If your angles or width feel wrong on snow: Make small changes—3° at a time for angles and 0.5 in (1.3 cm) for width. If turns feel twitchy, narrow a touch. If knees feel pinched, widen slightly. If heelside slips while toeside bites, consider rotating highbacks more toward the heel edge or adding a notch of forward lean.
First‑run checklist: After one or two runs, re‑tighten binding screws, double‑check strap comfort, and confirm you have clean heel hold without hot spots. As your stance settles, revisit angles and width at the end of the day and note your preferred settings for next time.
FAQs: quick answers to common setup questions
What binding angles should beginners use for all‑mountain riding? A proven starting point is +15° on the front and −6° to −9° on the back. This gives stable forward riding with the ability to ride switch as you progress. Tweak in 3° steps based on comfort.
How wide should my snowboard stance be for my height? As a rule of thumb, start around shoulder‑width. Riders 5′6″–5′9″ often prefer 20–22 in; 5′10″–6′1″ commonly ride 21–23 in. Fine‑tune by how your knees and hips feel during turns and landings.
Can any bindings fit any snowboard? Most modern bindings work with 2×4/4×4 inserts using universal discs. Burton Channel boards need channel‑compatible discs and t‑nuts; EST bindings are Channel‑only. Step On bindings require Step On boots. Check your binding manual for included discs and hardware.
Do I need threadlocker, and how tight should the screws be? It’s optional for new setups but helpful on older boards or for riders who notice loosening. Many brands cite 5–7 N·m of torque for M6 binding screws. Apply a small drop of medium‑strength blue threadlocker to clean, dry threads if you choose to use it, and avoid overtightening.
How do I mount bindings to a Burton Channel board? Slide the t‑nuts into the channel, set your stance width and angles, align the channel‑compatible disc over the slot, and start both screws. Snug them evenly while keeping the disc flat. Make small adjustments before final torque so angles stay true.
What forward lean should I set on my highbacks? Start light or neutral if you’re new; add a click or two when you want stronger heelside response for carving. Too much lean can fatigue calves, so build up gradually.
Dialing your stance is a process, not a one‑time chore. With the steps above, you’ll be on snow faster and more comfortable, and future tweaks will take minutes instead of hours.