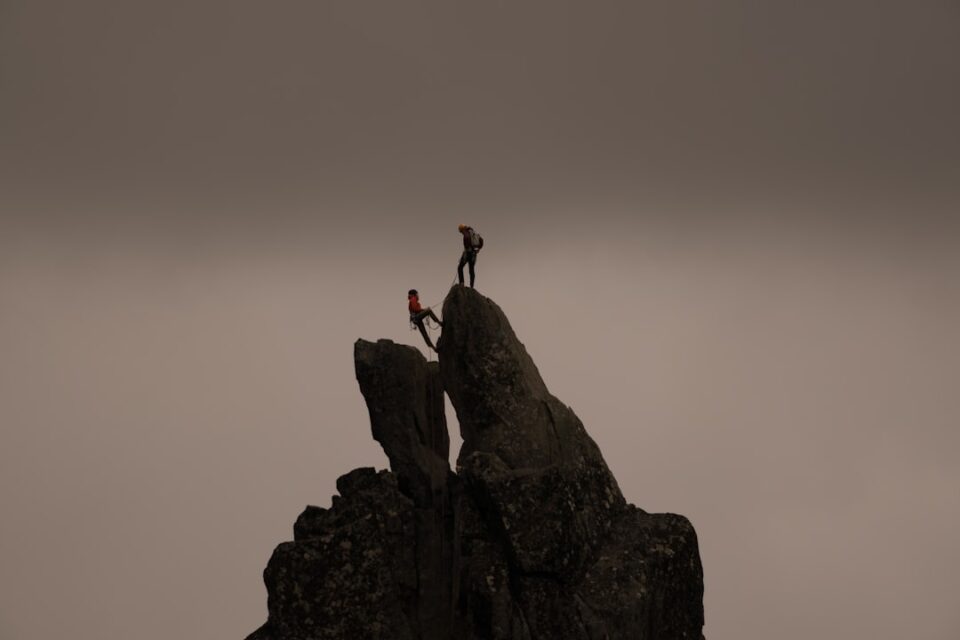
This guide assembles a mountaineering safety checklist you can actually use—from trip planning and weather calls to ropework, navigation, and incident response. The goal is simple: fewer unpleasant surprises, cleaner decision-making, and a resilient habit stack that helps you come home with stories worth telling.
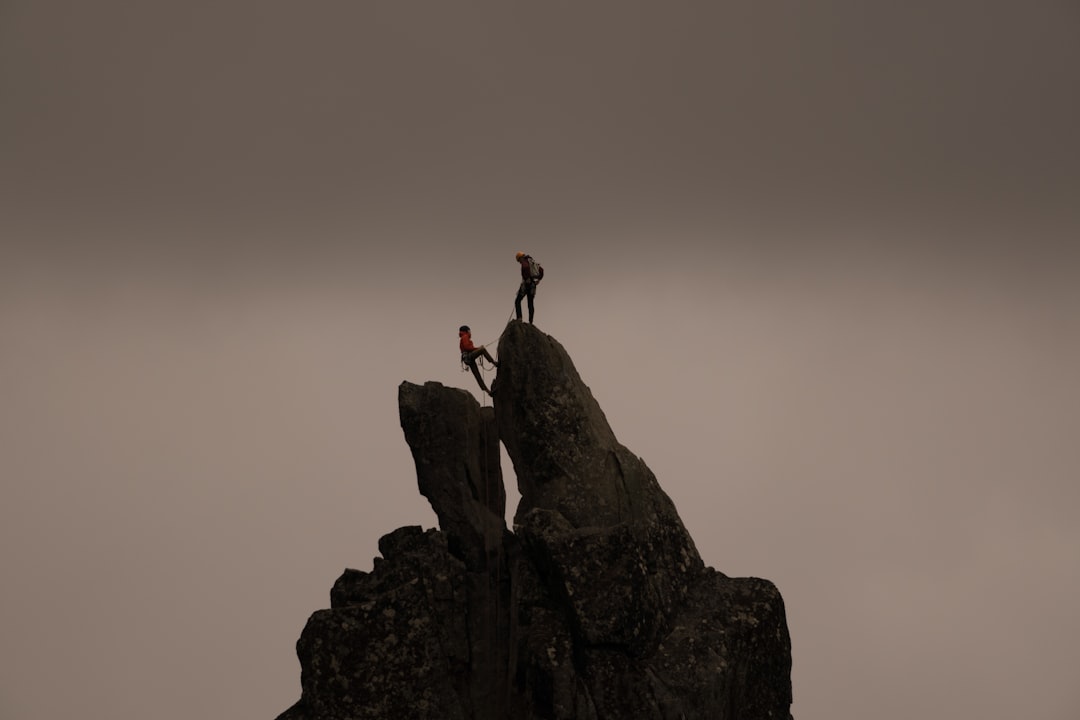
Why safety matters on every climb
Mountains are not hostile; they are indifferent. Granite, ice, and weather do not negotiate with your hopes, your schedule, or your social feed. A safe day in the alpine is rarely about a single hero move. It is the sum of dozens of ordinary choices that reduce exposure, protect energy, and leave capacity for the unexpected. Seen that way, safety is not a brake on adventure. It is the scaffolding that makes good adventure possible.
Experienced parties routinely make conservative calls early so they can move faster and freer later. They aim to be slightly under-committed at every moment—enough margin to handle a broken crampon, a delayed approach, or a wind shift without spiraling. That margin comes from habits: crisp partner communication, route notes that include escape options, honest pace checks, early hydration and fueling, and steady awareness of objective hazards. It also comes from respecting the obvious: helmets on, anchors backed up, knots clean and visible, and a turn-around time you actually follow.
None of this is dramatic. But the absence of drama is what you are after. You will always carry uncertainty into the hills. The craft is learning to convert uncertainty into watchfulness instead of stress. That is what a safety checklist is for: a simple, repeatable way to catch the small things before they pile up.
mountaineering safety checklist
Use this framework as a living document. Customize it to your region, season, style, and team. Print a copy, laminate it, or save it in your phone notes. Review it with your partner before you leave the trailhead.
- Trip basics: objective, route, grade, distance, elevation, time plan, bail options.
- Weather and conditions: forecasts, freezing level, wind, precip, avalanche bulletin, recent trip reports.
- Team readiness: skills, fitness, recent practice, roles, decision protocol, emergency contacts.
- Gear systems: clothing and insulation, footwear and traction, protection and rope kit, navigation, repair, shelter, stove, hydration, food, headlamp, small first-aid kit, comms.
- Ropework and movement: knots, belays, transitions, simul policies, rappels, hazard spacing, glacier travel spacing.
- Navigation plan: maps, compass, GPS tracks, waypoints, handrails, whiteout strategy.
- Risk rules: turn-around time, weather go/no-go, avalanche filters, objective hazard timing, spacing rules, “one-more-thing” pause before committing.
- Incident plan: stop, breathe, assess, shelter, warm, signal, delegate tasks, call for help if needed.
As you apply the list, keep notes. What was overkill? What was missing? What slowed you down? Your second version will already be better.
Trip planning and route research
Good days start at the kitchen table. Route selection is risk selection, so spend real time here. For a given objective, identify multiple route options and at least two conservative bail paths that do not require complicated downclimbing. If the normal descent is a glacier or a ridge that becomes hazardous in afternoon warmth, plan to be off it early. If it ends with a complex rappel line, carry the cord and hardware to build a clean anchor instead of gambling on old slings.
Gather independent sources. Mix guidebooks, maps, satellite imagery, recent trip reports, and your own notes from past visits. Trip reports are valuable but anecdotal; weight several, not one. Note time estimates from multiple parties, then adjust for your team’s pace. Build a simple schedule: approach, crux, summit window, descent checkpoints, and the point where you will turn around if you are off the clock. Add fixed times for micro-breaks to eat and drink before you feel behind.
Mark your map with hazards and navigation aids: crevasse fields, moats, cliff bands, avalanche paths, cornices, seracs, river crossings, bush-choked gullies. Also mark the handrails you will use to avoid micro-navigation in poor visibility—ridges, streams, valleys, and prominent spurs. Download an offline map to your phone, pack a paper map and compass, and build 3–5 key waypoints for the crux and descent. While planning, consider car shuttle, gate hours, permits, and the drive home. Logistics is safety.
If you are collecting resources, bookmark your local hub; for example, explore seasonal tips and stories on the mountaineering resources page to expand your playbook.
Weather, avalanche, and objective hazards
Forecasts do not make decisions for you. They outline probabilities so you can position your day inside a favorable window. For snow climbs, watch the freezing level, overnight lows, and the timing of solar radiation. A firm morning snowpack and light wind can make a route joyful that would be wallowing and loose six hours later. On rock, wind speed and direction, shade versus sun, and post-frontal temperature drops influence how much clothing and water you carry and how brittle afternoon clouds might become.
Objective hazards demand timing and spacing. Rockfall increases as snow melts and as parties stack above one another. Icefall and cornice fall are more common during warming. Crevasse bridges weaken late in the day. Rivers rise with heat or rain. A simple rule that helps: aim to be under your crux and on your way out when the day is at maximum heat and traffic. If your plan would put you there late, reframe your objective.
Read regional avalanche bulletins all winter and spring. Even for routes that mostly avoid avalanche terrain, the approach or exit often crosses or travels adjacent to slopes. Use basic filters: avoid slopes steeper than ~30–35 degrees when the bulletin calls out unstable layers; favor ridgelines and dense trees; minimize time under connected avalanche paths; space out and move one at a time across suspect zones. In late season, consider moats at rock-snow interfaces. Where the snow peels from rock, a careless step can swallow a leg. Probe with your axe, keep spacing, and choose rock or solid snow whenever you can.
Gear systems that reduce risk
Gear works as a system, not as single items. Think in layers and redundancies that add up to comfort and control with minimal weight.
- Clothing and insulation: A wicking base, breathable mid, and a shell you trust in wind and precipitation. Add a puffy that is warm enough to keep you functional during a long stop. Cold climbers make hurried decisions; warmth buys patience.
- Footwear and traction: Boots that fit your terrain. On snow or ice, pair with crampons that match the boot’s stiffness and shape. Practice putting crampons on while seated and standing, in gloves and wind.
- Protection and rope kit: Helmet, harness, belay device plus backup friction (e.g., a prusik loop), a minimal alpine rack if needed, and slings/cord to build anchors. Pack a light knife, a few lockers, and spare cord for V-threads or emergency anchors. For glacier travel, include a pully-style progress capture if you use one, or know how to improvise with prusiks.
- Navigation and comms: Map, compass, altimeter or reliable phone app with offline topo, headlamp with fresh batteries, and a satellite messenger or PLB if you travel beyond cell coverage.
- Repair and resilience: Tape, zip ties, a voile strap, spare ski strap, a couple of bolts/nuts for bindings if relevant, and a tiny sewing kit. A small fix can transform your day.
Lay your kit out the night before and touch every item as you pack it. Conduct a buddy check at the trailhead: helmet, harness, device, rope ends flaked, knots clean, crampon straps threaded, beacon (in winter) on and checked. Weight budget matters. Remove redundancies that do not add resilience, then keep the ones that do.
Ropework, knots, and partner communication
Alpine terrain changes quickly. The fastest teams are not those who skip belays; they are the ones who change modes cleanly: from soloing to short-roping, from pitched climbing to simul, from simul back to a quick anchor, and into a tidy rappel. That flexibility starts with a short set of knots you can tie perfectly under pressure: figure-8 follow through, clove hitch, munter hitch, prusik, autoblock, girth hitch, overhand on a bight, and a flat overhand for joining rappel ropes (with long tails and a careful test). Fewer knots, mastered deeply, beat a dozen tied sloppily.
Before leaving the ground, agree on commands and who leads each segment. In wind or complex terrain, hand signals and rope tugs beat shouting. A common language: “On belay,” “Climbing,” “Slack,” “Up rope,” “That’s me,” “Off belay,” “Fixed,” “On rappel,” and “Off rappel.” Avoid ambiguous phrases like “Got me.” In simul-climbing, specify how you will add protection (e.g., microtraxion or knots on the rope), how you will call to stop, and what each climber will do if the other is silent. On glaciers, set clear spacing (often 10–15 m, longer for large bridges), keep coils neat, and carry your rescue kit on your harness, not buried in the pack.
Transitions are where many mistakes occur. Build a habit: at every stance, both partners pause, breathe, and verify four things—attachment, device, direction, and plan. That ten-second routine catches the loose strand in the device, the mis-threaded anchor, the misread descent line, and the rope end dangling near a lip.
Navigation and decision-making in the field
Navigation is a continuous conversation with the landscape. Start with broad strokes: “We are on this ridge trending north to the glacier toe.” Then refine: “We need to hit this bench at 2800 m, then angle right to the obvious gully.” In low visibility, switch from destination-based thinking (“go to the col”) to feature-based handrails (“follow the moraine edge until it fades, then a bearing of 040 for 400 m to hit the rib”). Periodically cross-check map, compass, altimeter, and the terrain under your feet. If you are improvising, set shorter checkpoints and lower commitment.
Decision-making is risk budgeting. A helpful mental model is the three-by-three: conditions–human–terrain at three scales—planning, approach, and crux. Ask what has changed at each scale and whether your remaining margin suits the next section. Another model is the “pause before push.” Whenever you are about to commit—crossing a bergschrund, entering a gully, stepping onto a thin bridge—stop for one long breath and ask three questions: what will we do if the obvious plan fails, how do we exit, and do we both still want this right now?
Beware shortcut thinking. Familiarity can lull you; scarcity (“We drove six hours, let’s make it count”) can bias you; social proof (“Three parties are already on route”) can blind you. Counter by writing the turn-around time on your hand and saying it out loud. Bring a small pack timer and set it to chirp at key checkpoints so you revisit the plan before momentum sweeps you into a bad decision.
Movement skills and pacing at altitude
Good movement is quiet and economical. On steep snow, the classic rest step—lock the back knee and momentarily load the skeleton, not the muscles—lets you climb for hours without a meltdown. Keep strides short, breathe rhythmically, and plant feet flat to engage the whole boot sole. With crampons, focus on deliberate foot placements. On low- to mid-angle, use French technique (flat-footing) and keep heels low. On steeper steps, adopt front-pointing with hips in and weight over your feet. Transition between tools efficiently: cane position for balance on mellow ground, low dagger on steeper snow, and high dagger or piolet-traction when it tilts more.
On rock in boots, climb with edges and inside corners; avoid smearing on polished or cold rock. Protect hands with light gloves you can still tie knots in. When the day is long, speed comes from fewer stops. Instead of big breaks, eat and drink small amounts often. Carry a soft flask where you can reach it and simple foods you will want to eat when you are tired. Altitude can slow thought and movement. Notice early cues like stumbling footwork, a growing headache, or unusual fatigue, and adjust pace, hydration, and objectives. If someone is clearly declining, descend. Pride does not pay your ride home.
Build micro-efficiency: keep tools racked consistently, stash your puffy where you can grab it, and practice transitions at home so you do not learn them mid-storm. The aim is not perfection; it is smoother flow under stress.
Camp hygiene and stove safety
Many trips are lost to small discomforts that grow. Keep your camp tidy and dry. Pitch on secure ground, orient shelter against expected wind, and trench or bank snow if that helps. Vent snow shelters and tents to reduce moisture. Manage damp clothing early; do not let small wet patches become body-chilling sponges. Sleep systems work best when you are dry, lightly fed, and off the ground on adequate insulation.
Stoves deserve care. Fuel bottles ride upright and leak-free; valves and pumps get a quick check before you leave home. Establish a stable cooking area away from fabric, inside a windscreen that will not trap heat against your tent. Never leave a running stove unattended. Melt snow gradually—start with a little water in the pot to avoid scorching and to speed the first melt. A bandanna or coffee filter makes an effective strainer for snow grit. Keep repair bits—a spare o-ring, a multi-tool, and a patch for a windscreen—where you can find them with cold hands.
Food hygiene is simple: clean hands, clean surfaces, and smart storage. In bear country or busy alpine basins, store food per local guidance so animals do not learn bad habits. Pack out every scrap; future parties and the local ravens will thank you.
First-aid, incident response, and rescue signals
Carry a compact kit suited to your objective and distance from help. Think in jobs: stop minor bleeding, clean and cover, stabilize sprains, support breathing, warm a cold partner, and manage pain with over-the-counter options you know how to use. Add a small blister kit, tape, a few gauze pads, triangular bandage, and a minimalist splint or materials to improvise one. Your kit matters less than your ability to stay calm, organize, and improvise with what you have.
When something goes wrong, slow down. A simple sequence keeps your mind from racing: ensure the scene is safe for you and the team, take a long breath, check the injured person’s responsiveness and breathing, provide basic care within your training and comfort, and keep the patient warm and sheltered. If you need outside help, move to a spot with the best visibility, note your coordinates and elevation, and call or message with a concise report: who, what, where, when, and the current condition. Conserve battery—turn off nonessential devices and dim screens.
Signaling is about being seen and understood. In daylight, a bright jacket, a waved tarp, or a mirror can attract attention. At night or in poor visibility, a headlamp flashed in patterns is clearer than shouting. Learn the basic alpine signal pattern used in many regions: repeated sets of flashes or whistles spaced evenly, followed by a pause, and then repeated. Agree on a simple team code for rope calls and hand signals before you climb so a stressed moment does not turn into crossed wires.
Training, recovery, and mindset that supports safe days
You cannot outsource basic fitness, but you do not need a perfect plan. Aim for consistency. Build a base of steady hiking and easy running or cycling, then add uphill work with weight. Practice footwork and step patterns on local slopes. A handful of garage or gym sessions—pulling movements, core, and single-leg strength—pay off on talus and with a pack. Mix in skill days: mock crevasse rescue in a park, anchor building at a local crag, moving together on a rope over low-consequence terrain. Those days grow confidence that shows up when it matters.
Recovery habits are safety habits. Sleep, nutrition, and stress management directly affect judgment. The night before, pack early and go to bed. The morning of, start eating and drinking before you walk. During the trip, keep your emotional thermostat boring. If tension rises, name it, breathe, and reset. If a partner is quiet, ask why. Psychological safety is not fluff; people who feel heard share doubts earlier and catch mistakes sooner.
Cultivate a mindset of flexible identity. Being a person who turns around is not a defeat; it is a skill. The mountain will be there when you come back. Keep a log of the calls you made and what you learned. Over time, that journal becomes your real curriculum.
Printable checklists and how to adapt them
A checklist works when it fits your brain and your region. Copy the core framework below into a note-taking app and tweak relentlessly. Keep separate lists for winter, spring couloirs, glacier traverses, and summer alpine rock. Stick the simplest version on a small index card in your map case and another on the inside of your pack lid.
Field-ready core list
- Plan: objective, route alt, times, bail, permits, shuttle, forecast, avalanche bulletin.
- Team: skills, roles, comms plan, turn-around time written, emergency contacts shared.
- Systems: clothing layers, helmet/harness, traction, rope and rack (if needed), nav, comms, headlamp, repair, shelter, stove/fuel, hydration, food, first-aid.
- Transitions: knots reviewed, belay/rappel checks, spacing rules, simul policy, glacier spacing and coils, descent plan rehearsed.
- Risk rules: objective hazard timing, one-at-a-time in runouts, avoid overhead exposure where possible, stop-and-breathe before committing.
- Incident: shelter/warmth first, concise call if required, simple signals, battery discipline.
After each trip, mark what you carried but did not use, what you wished you had, and where you lost time. Edit ruthlessly. In two or three climbs, your list will feel like it was written just for you. That is when a checklist becomes a quiet advantage.
Putting it together
Safety is not a single decision but a rhythm. Plan well, pack simply, communicate clearly, move with intent, and keep enough margin that you can absorb the day’s surprises. Bring this checklist into your pre-trip talk, glance at it during transitions, and debrief with it over dinner. Small, repeatable habits are the most reliable partners you will ever rope up with.