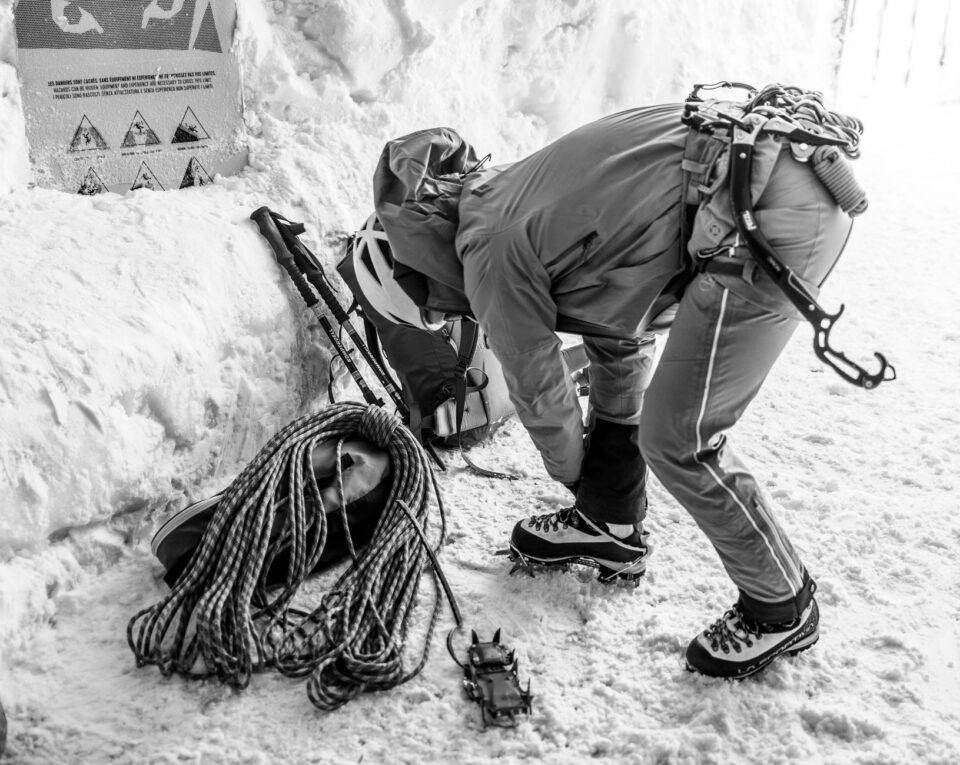
Whether you are planning your first glacier walk or lining up a technical ridge on a classic peak, a dependable mountaineering gear checklist saves time, reduces stress, and helps you focus on the climb. This mountaineering gear checklist is designed to be practical and field tested, not a shiny catalog of stuff. You will find detailed advice on selection, fit, packing, maintenance, and how to adapt for season, route, and team size so you carry what you need and nothing you don’t.
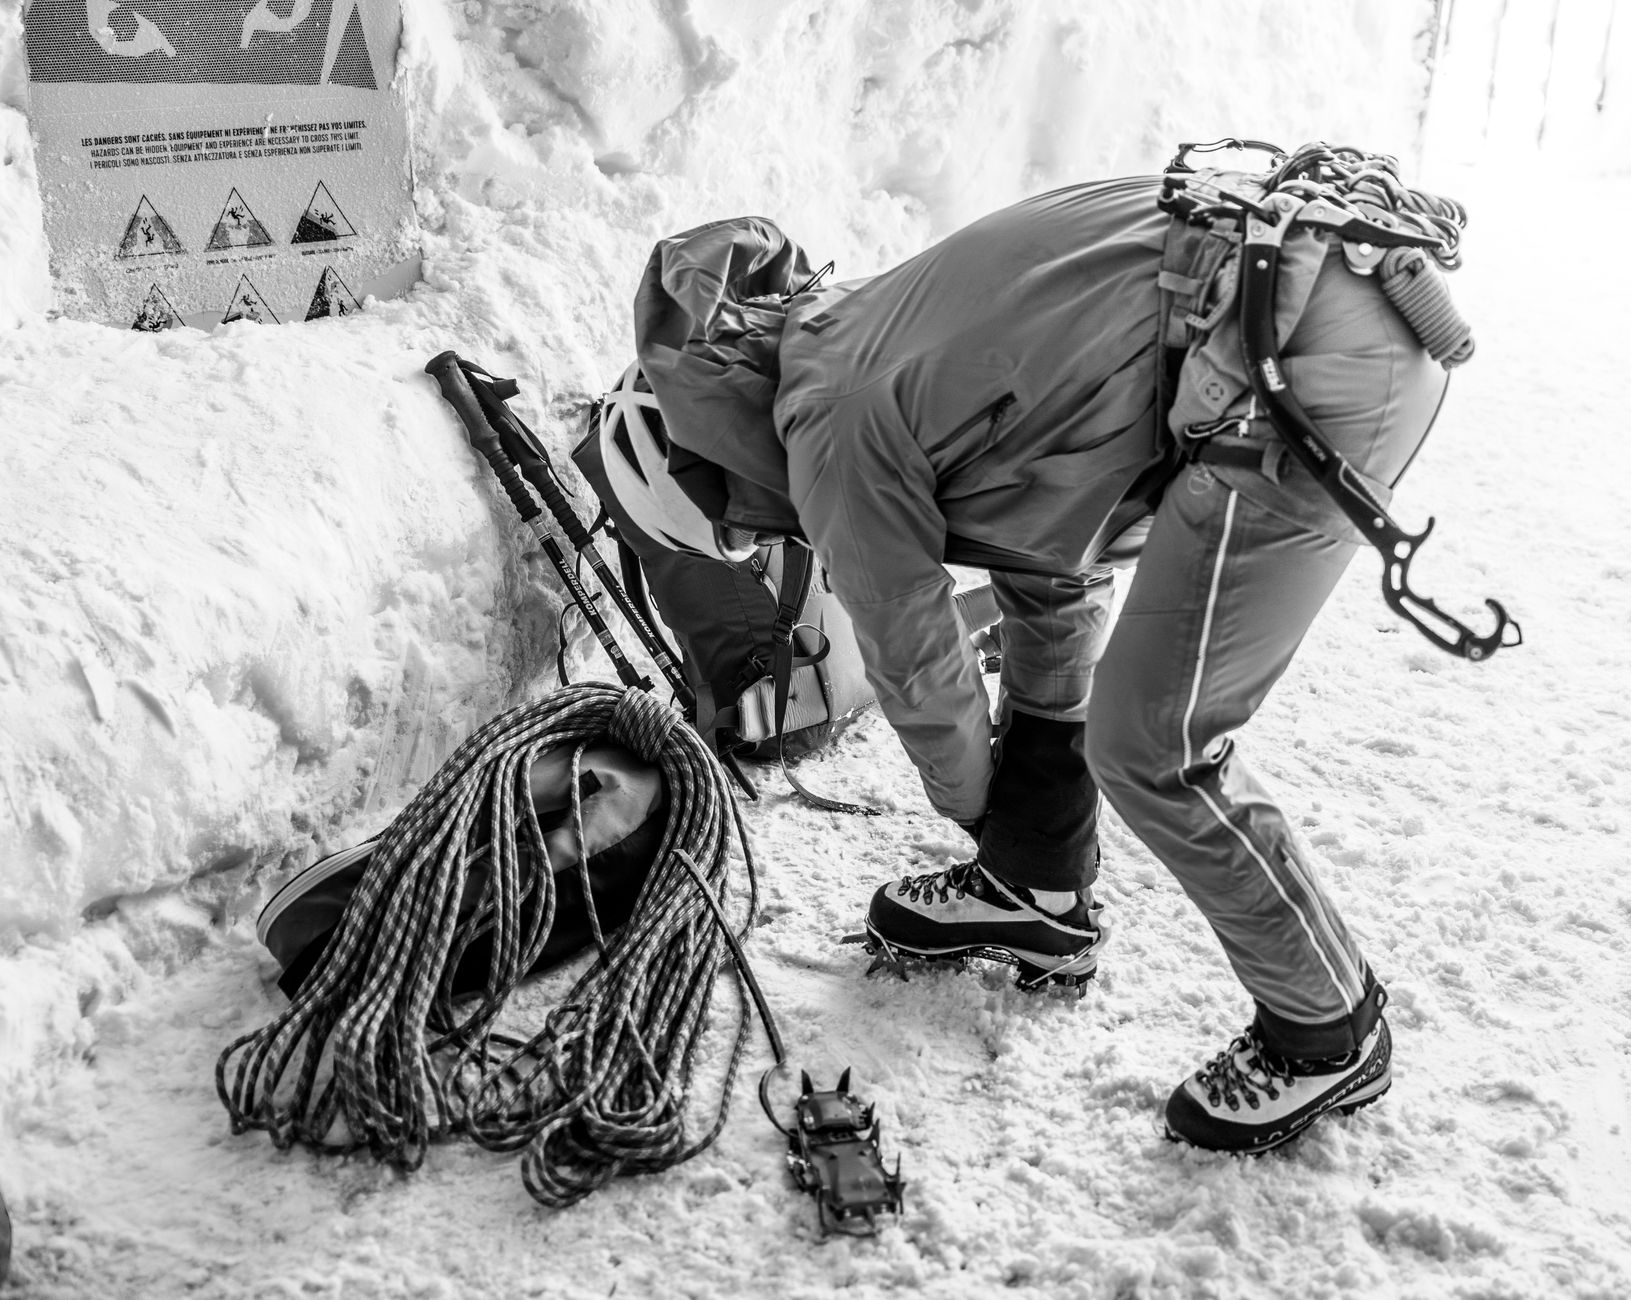
Use this guide as a blueprint you can tailor to your objectives. A winter ascent with long approaches calls for different footwear, fuel, and insulation than a fast summer climb on firm snow. The terrain matters too: low-angle glacier tours put a premium on rope management, while mixed gullies put more demand on helmets, tools, and precise crampon fit. As you read, think about your route’s slope angles, elevation, exposure to wind, forecast temperatures, and bail-out options. Those context clues will help you tune each category to your plan.
One more note before we dive in: no checklist replaces sound judgment, skills practice, and conservative decision-making. Gear supports your plan but never substitutes for it. Build systems you can execute when tired, cold, or under pressure, and choose equipment you have actually used, not only read about.
The mountaineering gear checklist
Start with a high-level framework, then customize. The categories below form a complete system for most alpine objectives:
- Footwear and lower-leg protection: boots, socks, insoles, gaiters, traction
- Clothing: base, mid, insulation, shell, gloves, hats, and spares
- Protection for head and eyes: helmet, goggles, sunglasses
- Technical hardware: ice axe(s), crampons, rope, belay and rappel devices
- Protection and anchors: pickets, screws, slings, quickdraws, carabiners
- Navigation and communication: map, compass, GPS, radio, satellite messenger
- Lighting and power: headlamp, spare batteries, power bank
- Shelter and sleep: tent or bivy, sleeping bag, pad, emergency blanket
- Food, water, and cooking: stove, fuel, pots, utensils, insulated bottle
- Health and repair: first-aid basics, foot care, field repairs, tape
- Packing and organization: pack size, stuff sacks, waterproofing, straps
- Maintenance and storage: cleaning, drying, inspection, service intervals
The rest of this guide breaks each bucket down with practical tips, trade-offs, and examples from real climbs. If you want a quick printable list, bookmark the AllFreeSports mountaineering articles page and adapt one of the sample lists posted there when available.
Boots, socks, and gaiters
Boot choice shapes comfort, warmth, and precision. Match your boot to conditions and objective length:
- Single leather or synthetic boots: Good for summer alpine rock and short snow climbs. Lighter, more precise for edging, and often compatible with semi-automatic crampons (heel welt).
- Hybrid insulated singles: A sweet spot for cool shoulder seasons and quick winter pushes. Thicker uppers and partial insulation keep feet warmer without the bulk of full doubles.
- Double boots with removable liners: The go-to for sustained cold, high peaks, and overnight trips. Removable liners dry inside the sleeping bag, preserving foot warmth for consecutive days.
Fit trumps brand. Try boots in the afternoon when feet are slightly swollen. Wear the socks you plan to climb in. Your heel should lock without rubbing, toes should wiggle, and there should be minimal volume slop. Bring your crampons to the shop if possible and test the interface on a stair to simulate front-pointing. Check that the welt engages your crampon bail firmly and that the sole stiffness resists collapsing when weighted on small edges.
Socks and foot care: Choose a moisture-wicking liner sock under a medium-weight merino or synthetic mountaineering sock. Avoid cotton. Pack one spare pair for multi-day trips and rotate daily. Hot spots signal friction; apply protective tape early. Consider a thin insole shim if you tend to get heel lift. Trim toenails and smooth calluses before the trip. A small foot-care pouch with tape, a safety pin, and a dab of skin-safe adhesive can save a weekend.
Gaiters and lower-leg protection: For snow and talus, knee-height gaiters add weather protection and keep debris out of boots. Models with replaceable instep straps last longer. In summer, short scree gaiters are enough to keep gravel at bay and maintain breathability.
Clothing: the proven layering system
Layering handles two opposing needs: holding heat when you stop and shedding moisture when you move. Build a kit that swaps or vents quickly with gloves on.
- Base layers: Long-sleeve synthetic or merino top and midweight bottoms. Prioritize wicking and quick dry times. Half-zip tops offer essential venting on steep grinds.
- Active insulation: A light, breathable grid fleece or air-permeable insulated layer worn during motion in cool weather. This bridges the gap between base and shell without cooking you.
- Shell: A durable, helmet-compatible hooded shell with good pit zips. For pants, consider full side zips to don over crampons and boots. In dry, windy cold, softshell can be more comfortable than fully waterproof fabrics.
- Static insulation: A belay parka or puffy that lives near the top of your pack. Size it to throw over all layers. Synthetic fill keeps working even when damp; high-fill down excels in very cold and dry conditions.
- Gloves: Minimum three pairs: a thin liner for dexterity, a midweight work glove for climbing, and a warm shell or mitten for stops. Rotate to keep a dry pair available.
- Head and neck: A thin beanie under the helmet, a sun cap for approaches, and a neck tube for wind or sun. In severe cold, add a balaclava that plays well with your goggles.
Dial the system with test hikes and local scrambles. Practice transitions: how quickly can you switch from skinning or post-holing to putting on a belay jacket and managing the rope? If your layers snag on harness gear or rides up under the pack hip belt, re-think the pairing before a big objective.
Helmets, ice tools, crampons, and ropes
Technical protection starts with the head. Wear a climbing-rated helmet anytime rock or ice fall is possible, and always around partners swinging tools above you. Fit should be snug with the dial tightened, and the chin strap comfortably short. Try it with your winter hat or balaclava and goggles to check compatibility.
Ice axe selection: For general glacier travel and low-angle snow, a classic mountaineering axe works well with a straight-ish shaft and adze for chopping platforms. Pick length so the spike reaches around your ankle bone when held at your side. For steeper couloirs and alpine ice, a pair of technical tools or at least a technical second tool (hammer) adds security and versatility. Leashes versus leashless is a personal preference; leashless with good grips enables better hand swaps and placements but requires more grip strength and practice.
Crampons: Start with 12-point crampons for general mountaineering, with anti-balling plates to reduce snow clumping. Choose bindings that match your boots—strap-on for flexible boots without welts, hybrid for heel-welt boots, and fully automatic for both toe and heel welts. Tune front points for your expected terrain: vertical mono-points shine on steep ice and mixed edges; dual front points feel stable on moderate angles and firm neve.
Ropes: Glacier teams commonly use a light single or a skinny half rope in the 30–40 m range for two to three climbers. Technical alpine mixed or ice routes often call for 60 m halves or twins to reduce drag and increase rappel options. Dry-treated sheaths extend rope life in wet snow and freeze-thaw cycles. Keep a tidy rope tarp or use the pack lid as a clean platform to avoid grinding dirt into the fibers.
Protection, anchors, and belay devices
Route style dictates what you carry, but a minimal alpine protection rack commonly includes:
- Four to six single-length (60 cm) alpine slings, two double-length (120 cm), and one quad-length (240 cm)
- Six to eight wiregate carabiners plus two lockers for master points
- Two to four quickdraws (extendable if possible) for rock steps
- One to two pickets for snow belays and running protection on steep snow
- Two to four ice screws for firm alpine ice sections
- One lightweight belay device capable of rappelling on two strands and paying out smoothly with gloves
Practice anchor construction in mixed media: rock horns backed by slung blocks, V-threads in solid old ice, and deadman-style picket placements. Build redundancy when feasible and equalize with simplicity. Belay devices that work well with skinny ropes are a good investment; test them with the rope you plan to bring. Lastly, pack a 5–6 mm cord or two for prusiks and emergency backups, stored where you can reach them quickly while on the rope.
Navigation, communication, and lighting
Route-finding and staying connected are core safety layers. Carry a paper topo map in a waterproof sleeve, a baseplate compass you can use with gloves, and a GPS device or mapping app with offline tiles loaded for the area. Before the trip, mark turn points, alternate exits, and likely hazard zones. Practice taking bearings and translating them to the ground when visibility fades.
For communication, a small VHF/UHF radio simplifies team coordination on broad faces and in blustery wind. Establish channel and call signs during the approach. A satellite messenger capable of two-way text provides weather updates and a way to relay status to support at home. Build clear check-in plans, including when you will send “camped” or “off route, returning” messages.
Lighting is non-negotiable. A 300–450 lumen headlamp with a reliable lockout and a wide low-power mode is sufficient for camp work and pre-dawn starts. Bring spare batteries or a small power bank if your lamp is rechargeable. Keep the lamp accessible—hip belt pocket or top lid—so you can deploy it without unpacking when that twilight angle sneaks up on you.
Shelter, sleep systems, and emergency bivy
Your shelter strategy ranges from a simple emergency bivy to a four-season tent, depending on forecast and itinerary. On light-and-fast pushes with good weather and easy retreat options, a minimalist bivy sack plus a torso-length foam pad can be adequate if you accept a cold, short night. For planned overnights, a single-wall or lightweight double-wall mountaineering tent with stout poles and guy-out points balances weight and protection. Always stake or anchor the tent even if wind is calm at sunset—it rarely stays that way.
Sleeping bag ratings reflect lab conditions; your experience depends on metabolism, pad R-value, clothing, and wind. Many alpinists pair a moderate bag with a high-quality insulated pad and add their belay jacket to the sleep system. This approach supports a smaller pack and keeps insulation versatile. Pack a small emergency blanket or heat-reflective bivy for unplanned stops; it weighs little and can provide a crucial thermal bump during a long wait.
Store shelter items in a dedicated dry bag. Moisture is the enemy of warmth—avoid letting spindrift fill the tent, and shake out your bag before sunrise to clear condensation. On multiday trips in clear weather, a few minutes of morning sun on the bag and pad pays off in comfort later.
Food, water, and cooking in cold environments
Fuel your engine with simple, dense foods you can eat with gloves or a liner on. On the move, think bite-size: nut butter packets, cut-up bars, cheese, cured meat, dried fruit, and gels if they do not freeze. At stops, a hearty wrap or a small thermos of soup delivers calories and morale. For dinners, freeze-dried meals paired with olive oil packets are easy and consistent.
Plan water with margin. Melting snow is slower than most people expect, and fuel consumption spikes in windy conditions. A reliable canister stove with a wide base and wind protection is efficient for snow melting. In very cold temperatures, invertible liquid-feed canister stoves or white gas stoves perform better. Pre-separate your fuel for each night and morning to keep track. Use a heat exchanger pot if compatible to stretch fuel further.
Insulate your water. Wide-mouth bottles ride inside the pack, upside down so the lid does not freeze first. Slip a sock over the bottle or use foam sleeves. Consider a small vacuum bottle for hot tea on brutal mornings. Avoid over-sugared mixes that can crystallize; a pinch of electrolyte keeps water palatable without turning into slush too quickly.
Health, first-aid basics, and field repairs
Carry a compact kit organized for speed. Focus on items that help you support common issues and keep moving safely:
- Blister care: tapes that adhere to skin, small scissors, antiseptic wipes
- Wound supplies: gauze pads, adhesive bandage strips, rolled bandage, nitrile gloves
- Pain and fever reducers with clear labels and dose guidance
- Allergy tablets if recommended by your clinician
- Elastic wrap for joints, plus a triangular bandage
- Personal medications in a waterproof mini-bag
For field repairs, a short list goes a long way: a few zip ties, a small multitool with pliers, strong tape (wrapped around a bottle), a needle and tough thread, and a ski strap. Add a spare buckle for your pack hip belt and a binding strap for crampon fixes. Rehearse simple repairs at home so you are not inventing solutions in spindrift with cold fingers.
This section shares general information for outdoor settings. It is not medical advice. If you have health questions or specific conditions, seek personalized guidance from a qualified professional before your trip.
Avalanche and objective risk fundamentals
Objective hazards never disappear, but you can lower exposure with good planning, clear team communication, and conservative terrain choices. Study recent avalanche bulletins, wind loading patterns, and freezing levels. Note overnight refreezes and daytime warming trends. On glacier routes, think about bridges, crevasse patterns, and how sun or wind shifts affect snow texture and cohesion during your travel window.
On avalanche terrain, build habits: space out on suspect slopes, favor ridges and windward aspects when possible, and use safe islands for transitions. Test small slopes to read reactivity, and adjust plans early if you see shooting cracks, recent slabs, or rapid warming. Consider how runout zones intersect your route and whether an alternative rib or micro-aspect is available. On rock or mixed routes, watch temperature swings that loosen rockfall and be realistic about how long you will be below other parties.
Carry and practice with the standard snow travel trio when your objective crosses avalanche-prone terrain: a modern transceiver, a strong shovel, and a probe of adequate length for your snowpack. Regular practice with partners increases speed and confidence if you ever need those tools. Aim to choose routes and timing such that those tools remain unused.
Packing strategy, weight, and organization
Smart packing makes every step easier. Select a pack that carries well with a helmet and harness on. For single-day alpine climbs, 28–38 liters often works. For overnights, 40–55 liters balances capacity and mobility. If you consistently lash items outside, upsize one tier to keep the center of mass close to your back.
Organize by function and frequency of use:
- Top lid or hip pockets: snacks, headlamp, small tape roll, lip balm, sunscreen, map, compass
- Front pocket: shell jacket, spare gloves, goggles
- Main body: sleep system in a dry bag, extra layers, stove kit, food bags
- Against the back panel: shovel blade and handle (if carried), tent body, foam pad
- External: tools clipped with leashes, crampons in a protective bag, rope coiled under the lid
Keep the heaviest items mid-back close to the spine. Use color-coded stuff sacks so your partner can find things fast when you ask. Use a lightweight trash compactor bag as an internal liner during storm cycles. Make a departure ritual—helmet on one side, axe on the other, buckle check, gloves on—so you leave camp the same way every time even when you are groggy.
Care, maintenance, and gear lifespan
Well-cared-for gear works better and lasts longer. Dirt and salt shorten the life of fabrics and ropes. After trips, shake and air-dry everything away from direct heat or sun. Spot clean shells with lukewarm water and a gentle technical wash when needed, rinse thoroughly, and restore water repellency with a compatible spray-on or wash-in product. Down items benefit from careful washing with down-specific detergent and slow drying with clean tennis balls to break up clumps. Synthetic insulation is simpler—still, follow label guidance.
Hardware deserves attention too. Inspect crampon points for burrs and file lightly to restore shape without thinning metal excessively. Check rivets, bails, and anti-balling plates. Sharpen ice tool picks as recommended by the manufacturer and replace when tooth profiles shorten significantly. Run a hand over your rope to feel for flat spots or sheath damage and retire gear that reaches the end of its service life. Keep a small maintenance log so you remember how old a rope or screw really is.
Store gear clean and dry. Loosely hang ropes, keep boots away from intense heat sources, and avoid compressing sleeping bags between trips. A transparent bin system by category makes packing smoother and helps you spot missing items at a glance.
Trip planning, logistics, and timing
Even a perfect kit cannot rescue poor logistics. Good plans consider access gates, road closures, bridge repairs, and trail conditions. On hut trips, verify opening dates and reservation rules. If your climb needs a permit, learn the process early and bring printed copies. Double-check sunrise, sunset, and nautical twilight times so your approach fits the refreeze window. Build a turnaround time that respects descent complexity, afternoon weather, and energy levels.
Make a communication plan with a trusted contact: route, team names, vehicle details, expected check-ins, decision points, and an overdue protocol. Share a digital map with your intended line and alternatives. The discipline of writing this down surfaces assumptions before you are on the mountain.
Finally, rehearse the choreography: who leads the approach, who racks what, how you’ll swap tools at belays, and where the snack bag lives. Smooth routines free up brain space for footwork and hazard scans.
Budgeting, rentals, and sustainability choices
Mountaineering can be affordable with careful choices. Prioritize the items that most affect warmth and safety: boots that fit, a functional rope for your objective, and a helmet you like wearing. Consider borrowing or renting items you use rarely, such as expedition-level double boots or a four-season tent. Many shops rent crampons, axes, and avalanche sets for trip windows; schedule early around holidays.
Buy used when it makes sense: shells, packs, stoves, and sleeping pads are good candidates if you inspect carefully. Be cautious with the secondhand purchase of ropes or hard-used metal gear—you cannot verify their history fully. Choose repairable items and support brands that publish spare parts and repair guides. When you are finished with a piece of gear, pass it along to a new climber if it is still serviceable.
Low-impact habits make mountains better for everyone. Pack out everything, including used tape and food scraps. Favor durable goods over disposables. Choose routes and seasons that spread out traffic, and be courteous with noise and lights at bivy sites. Shared spaces feel larger when people act generously.
Sample seasonal kits you can adapt
These example kits show how the same framework flexes. Adjust for your climate, route, and team.
Late-spring glacier day tour
- Footwear: insulated single boots, midweight merino socks, knee gaiters
- Clothing: wicking base top and bottoms, light grid fleece, softshell jacket and pants, compact synthetic puffy, liner gloves + midweight gloves + light overmitts, beanie, sun cap, neck tube
- Technical: mountaineering axe, 12-point crampons with anti-balling plates, 40 m dry-treated rope, belay device, two prusiks, four wiregates, two lockers, two 60 cm slings, one 120 cm sling, two pickets or two screws depending on route
- Nav/comm: map + compass, GPS app offline tiles, radio, satellite messenger
- Lighting: 350 lm headlamp + spare battery
- Shelter/sleep: emergency bivy, foam sit pad
- Food/water: 2–3 L water in wide-mouth bottles, canister stove kit for snow melt if temps demand, snacks and a simple wrap
- Health/repair: compact first-aid pouch, tape, multitool, zip ties
- Packing: 35 L pack with liner, small color-coded sacks
Mid-winter overnight mixed ridge
- Footwear: double boots with removable liners, over-the-calf socks, tall gaiters
- Clothing: heavyweight base top, midweight bottoms, breathable active insulation, hardshell with big hood and pit zips, insulated belay parka, liner gloves + insulated gloves + mittens, balaclava + goggles
- Technical: pair of technical tools, vertical front-point crampons, 60 m half ropes, belay device suited to skinny ropes, six screws, four slings, six draws (extendable), eight wiregates, four lockers, one picket if snow arêtes are expected
- Nav/comm: full map set, compass, GPS with spare batteries, radio, satellite messenger
- Lighting: 450 lm headlamp + spare batteries + power bank
- Shelter/sleep: four-season tent, -18 °C to -12 °C bag depending on forecast, insulated pad with high R-value, emergency reflective bivy for backup
- Food/water: stove with windscreen and heat-exchanger pot, inverted canister or white gas in cold snaps, 3–4 L water capacity, vacuum bottle with tea, hearty dinner + fat add-ons
- Health/repair: larger tape roll, extra buckle, spare pick, needle and thread, meds and personal supplies
- Packing: 50 L pack with liner and external tool carriers
Use these examples as starting points, not prescriptions. Your needs shift with your experience, pace, and cold tolerance. The more you climb, the more you will simplify—carrying the items you repeatedly use and leaving behind the ones that only look reassuring in camp.
As you refine your mountaineering gear checklist over time, keep notes after each outing: what stayed in the pack, what you wished for, and what broke or wore out. Those small observations compound into a dialed kit that supports efficient, enjoyable days in the mountains.