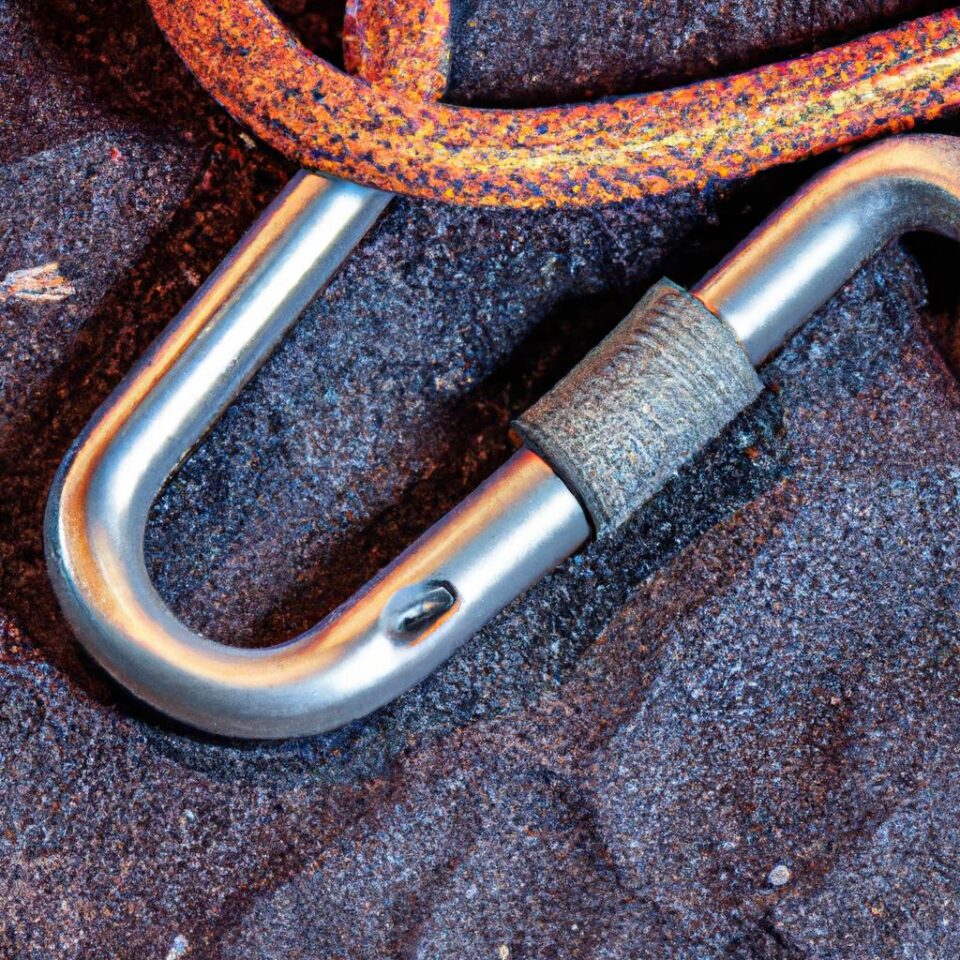
Introduction: Mountaineering and Rope Management
Mountaineering is an amazing outdoor activity that helps people explore nature up close. It involves traversing mountains, glaciers, and cliffs to reach amazing views and spots otherwise inaccessible. It requires a good amount of skill, equipment, and technique to do this activity safely. This includes the use of ropes in order to ascend, descend, and traverse, so it is essential for mountaineers to know how to use ropes properly, specifically tying knots correctly.
Knowing different types of knots, and how to tie them, comes with practice and time. The most basic and essential knots have been used for years by mountaineers to manage their ropes. Every knot has its own purpose and application, so knowing how to choose which one to use is also important. It is also beneficial to understand the different stages of tightening a rope or knot off and the physics behind them.
This guide will help you understand the different kinds of knots, their purpose, and how to tie them correctly. Refer to the Glossary at the end of the guide to learn the definitions of important terms.
Types of Knots
Mountaineering often requires managing rope in different ways. Knowing how to tie knots is essential for safely navigating the mountains. There are many types of knots used in mountaineering, and each serves a specific purpose. Here is a brief overview of some of these knots.
- Figure 8 Follow Through: The figure 8 follow through is used to secure the end of a rope for rappelling, or to form a loop at the end of a rope.
- Figure 8 on a bight: This knot is similar to the figure 8 follow through, but instead of forming a loop at the end of the rope, it is used to create a loop in the middle of the rope.
- Bowline: This knot is used to tie a loop that will stay fixed, even when there is pressure on the line. It is commonly used for tying off anchor points.
- Double Fisherman’s Bend/Girth Hitch: This knot is used to connect two pieces of rope together. It is also used to attach slings or carabiners to anchors.
- Alpine Butterfly: This knot is used to attach carabiners to ropes. It can also be used to create a loop in the middle of a rope.
- Clove Hitch: This knot is used to quickly tie off a rope to a pole or post. It can also be used to attach carabiners to anchors.
With practice and guidance, mastering knots is achievable. Having these skills will help ensure safe and successful mountaineering adventures.
Figure 8 Follow Through
The figure 8 follow through is a looping knot that is relatively easy to tie. This is a great knot for climbers because it is strong, relatively small, and secure. The knot can be used to secure two pieces of rope together, and it can also be used to secure climbing harnesses, webbing, cords, and carabiners.
To begin tying the figure 8 follow through, take one end of the rope and make a loop, creating an “8” shape with the rope. Cross the tail through the loop and pull it tight. The loop should now look like a number “4”. Make sure the end of the rope is sticking out of the bottom of the “4”, away from the loop.
Next, take the tail from the rope and bring it up to the top of the “4”. Once it is at the top, pass it back through the loop. Pull it tight to create a new loop and make sure both ends of the rope are coming out of the bottom of the knot.
Finally, pull both ends of the rope to fully tighten the knot. After the knot is tied, use a pair of carabiners to attach it to a harness or webbing. Make sure the knot is securely fastened before continuing to climb!
Figure 8 on a Bight: Tying a Figure 8 Knot
Tying a figure 8 on a bight knot is an essential skill for rope management for mountaineering. Its primary use is when you want to fasten two strands of rope together, but is also great for looping around it to add extra strength. It can be tied in the middle of a rope or at the end of a rope, and its shape resembles the number 8. Here are the steps to tying a figure 8 knot:
- Thread one end of the rope through the loop at the other end.
- Cross the ends of the rope over each other and tuck them behind the loop.
- Pull the ends of the rope tight and make sure the knot is secure.
After the figure 8 on a bight knot is tied, check it for security and proper fit. Make sure that the knot is stable before using it. When you’re satisfied, then you’re ready to use the knot to secure your ropes together.
Bowline Knot
A bowline knot is one of the essential knots to know when it comes to mountaineering and rope management. It is a great knot for creating a temporary loop that can hold a lot of weight and will not slip or come undone. With a few simple steps, you can be sure your knot will be secure and reliable.
Step One: Make a ‘rabbit hole’
To start tying the bowline knot, take your rope and make a small loop at the end. Then, take the end of the rope and pass it through the loop, creating a small opening at the base of the loop. This small opening is referred to as the ‘rabbit hole’.
Step Two: Pass the ‘rabbit’ up the ‘hole’
Next, take the end of the rope and pass it up through the ‘rabbit hole’, creating a larger loop. The part of the rope that has been passed through the ‘rabbit hole’ can be thought of as the ‘rabbit’ going up the ‘hole’.
Step Three: Wrap around the tree
Now take the end of the rope and wrap it around the outside of the loop. Make sure you wrap the rope completely around the loop, passing the end of the rope through the space between the ‘rabbit’ and the original ‘rabbit hole’. This should create a figure-eight shape with the rope.
Step Four: Tighten the knot
Finally, pull on all ends of the rope in opposite directions to tighten the knot. The knot should now be secure and ready to use for whatever purpose you need it for. If the knot does not seem secure, you may need to go back and adjust the steps until the knot is tight.
Double Fisherman’s Bend/Girth Hitch
The double fisherman’s bend/girth hitch knot is a great tool to have in your mountaineering toolbox. This knot can be used for attaching two rope ends together or attaching a rope to an anchor. It is also commonly referred to as a grapevine knot. It holds firm and is easy to create when you know the steps.
When creating this knot, you will need a bight (a loop) of rope and two loose ends. To begin, fold the bight in half and cross the two working ends of the rope, so that they form an “X” shape.
Next, take one of the working ends and thread it over the bight. Then, thread the same working end back under the “X” shape and up through the center of the bight. Follow the same steps with the other working end. You should now have two loose ends both going through the center of the bight.
Finally, take each of the working ends and tie them together in a single knot. Pull tight and the double fisherman’s bend/girth hitch knot is finished!
Alpine Butterfly Knot
The alpine butterfly knot is a useful technique for creating a loop in the middle of a rope that can be used to attach it to other objects. It’s an essential tool for mountaineering, and can be used for tasks such as setting up rappel systems or making loops on webbing.
To tie the alpine butterfly knot, start by folding the rope in half, so that you have two strands of evenly-sized rope. Take the folded part of the rope and form a loop with it, by bringing one side over the other. Then take the tail ends of the rope and thread them through the loop, underneath the folded part of the rope.
Next, take the tail end on the left (as viewed from the front) and bring it over the folded loop, before tucking it under the standing part of the rope. Then do the same with the right end, bringing it over the loop and tucking it under the standing end of the rope. Then pull both sides to tighten the knot.
The alpine butterfly knot now creates a loop in the rope that can be secured around an object. Once the knot is tightened, make sure to double check that both sides are secure by tugging on each side of the loop. This will ensure the knot is tied correctly and won’t come undone.
Clove Hitch Knot
The Clove Hitch knot is a simple and versatile knot used for mountaineering. It is often used to attach a rope to a post, pole or tree. It is easy to tie and adjust. It can be quickly tied and untied, and is strong enough to hold even when pulled tight.
To tie the Clove Hitch knot, begin by looping the rope around the object you want to attach it to. Take two strands of the rope and cross them over each other. Then take the end of the rope and make a U-shaped loop around the standing part. Pull the ends tight for a secure hold.
For a more secure hold, you can also wrap the rope around the object twice before proceeding with tying the knot. Doing this will provide an extra layer of security and prevent the knot from slipping loose.
When finished, the Clove Hitch knot should look like two Xs stacked on top of each other. The knot should feel tight and secure. To ensure ultimate safety, be sure to double check the Clove Hitch knot before using it.
Conclusion: Summary of Learning and Recommended Resources
Mountaineering can be a challenging and rewarding experience with the right tools and techniques. Knowing the essentials of knots and rope management is key to an enjoyable and safe climb. This guide has provided a comprehensive overview of some of the most commonly used knots for mountaineering, including the figure 8 follow through, figure 8 on a bight, bowline, double fisherman’s bend/girth hitch, alpine butterfly, and clove hitch knots.
Although this guide provides enough information to practice these knots and get familiar with them, it is highly recommended to practice these knots on the ground before heading out on the trail. Practice makes perfect and mastering these knots may take several attempts. If at any time you feel stuck, please refer to the Troubleshooting section for helpful tips.
In addition to written resources, there are many online videos and tutorials available to help you practice these knots in the comfort of your own home. Practice makes perfect, and you should consider also getting a climbing instructor or expert to check that you’re doing them correctly. Stay safe and have fun!
Glossary: Relevant Knot Terms
Being familiar with the specific terms related to mountaineering knots is important in understanding and tying the knots correctly. Here are some definitions of commonly used terms:
- Bight: A bend or curve in a rope, as opposed to an end.
- Loop: An opening near the end of a rope which allows its circumference to be folded in half and used as a handle.
- Standing End: The length of rope that is not involved in the formation of the knot.
- Running End: The length of rope that is used to form the knot.
- Tail: A short, loose end of a rope.
- Strand: A single piece of rope.
Troubleshooting Knots
Nobody is perfect and mistakes will happen when tying knots. What matters is to be able to identify and rectify any errors as quickly and safely as possible. The following tips will help you troubleshoot your knots and fix any problems that occur.
- Check the tension: Before you even attempt to tie a knot, make sure the rope is under appropriate tension. This will ensure the knot is tight and secure when it has been tied.
- Check the ends: Remember to always check the ends of the rope, and ensure the ends meet in the middle after you have finished tying the knot. In some cases, you may need to adjust or re-dress the knot to ensure the ends are properly intertwined.
- Let it rest: Once you’ve completed the knot, give it a few moments to rest. By doing this, any movement or stretching the rope does when under tension will be eliminated.
If for any reason you need to untie a knot or start over, it’s important to let the rope cool down first before you attempt to start again. If your knot is tied incorrectly or too tightly, this can damage the rope, so it is best to be careful. With a bit of practice, tying knots will become second nature.
Capping it Off: Warning and Safety Precautions
Mountaineering is an exhilarating way to explore the outdoors, but always remember to do so with utmost care. It is important to be aware of the dangers and take proper precautions to ensure a safe experience.
When learning about rope management and tying knots, it is imperative to pay attention to safety. All knots should be checked and double-checked before usage, paying special attention to any weak spots or grooves in the rope. Additionally, consider the type of environment you will be in and determine the appropriate knot for that situation.
Be sure to familiarize yourself with the local area’s terrain and weather conditions before undertaking an outdoor adventure. Make sure to dress appropriately for the elements. While mountaineering, bring appropriate supplies like a first aid kit, a knife, and a compass.
It is also important to be responsible while exploring. Do not damage the environment and respect nature as much as possible. Be aware of your surroundings and if you don’t feel comfortable, retreat cautiously.
Finally, prepare for emergencies. Before embarking on a mountaineering trip, make sure to share your route with someone who will know to alert the necessary authorities if you run into trouble. Have a backup plan ready in case something unexpected happens.
Your safety should always be your number one priority when mountaineering. Having a good understanding of mountaineering knots and rope management techniques will help to maximize safety, but never forget to pause and prioritize your wellbeing.
comments: 0
